How to Install a QD Bushing: Step-by-Step Guide
Why Proper QD Bushing Installation Matters
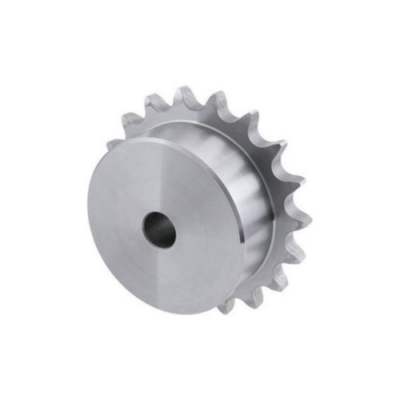
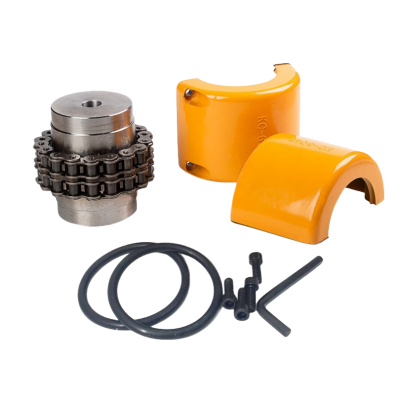
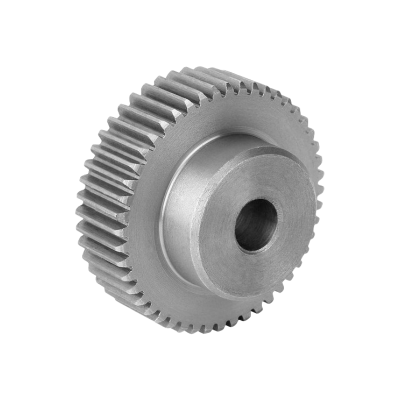
A QD bushing is a tapered, flanged sleeve that mounts components like pulleys or sprockets onto a shaft. When tightened, it wedges into the mating hub, clamping tightly around the shaft to create a strong, friction-based connection.
This design allows for high torque transmission and precise alignment. However, incorrect installation can lead to:
1. Reduced torque capacity
2. Vibration or misalignment
3. Hard-to-remove bushings later
QD bushings are widely used in v-belt pulleys, chain sprockets, conveyor drives, and gear reducers, where dependable shaft mounting is essential for long-term operation. Proper installation ensures the system operates smoothly and minimizes maintenance downtime.
Tools and Preparation Before Installation
Before installing a QD bushing, it is important to prepare both the equipment and the necessary tools. Proper preparation prevents alignment problems and ensures the bushing can seat correctly in the hub. The following tools are commonly used during installation:
Tool | Purpose |
Torque wrench | Ensure accurate bolt tightening |
Hex wrench | Tightening mounting bolts |
Cleaning solvent | Removing oil, grease, or debris |
Moft Hammer | Loght positioning of components |
Equally important is inspecting the components involved in the installation. The shaft surface should be smooth and free of burrs, rust, or damage. Any irregularities can interfere with the contact between the shaft and the bushing bore. The key and keyway must also be checked for proper fit. A loose or damaged key can reduce torque transmission and may cause vibration during operation.
Taking a few minutes to verify these conditions before installation can prevent significant mechanical issues later.
Step-by-Step QD Bushing Installation Guide
Although QD bushings are designed for quick mounting, following the correct sequence is essential to achieve a secure and reliable installation.
Step 1 – Inspect the Shaft and Components
The first step is to examine all components involved in the installation. This includes the shaft, key, bushing, and the hub of the pulley or sprocket.
The shaft diameter should match the bore size of the bushing, and the keyway dimensions must correspond with the key supplied for the assembly. If burrs or corrosion are present on the shaft surface, they should be removed before proceeding.
A clean and undamaged shaft ensures the bushing can seat evenly and maintain proper alignment.
Step 2 – Clean the Shaft and Bushing
Next, thoroughly clean the shaft, bushing bore, and the tapered surfaces of the hub.
Any grease, oil, or dirt should be removed using a suitable cleaning solvent. The contact surfaces should remain dry during installation because excessive lubrication may reduce the friction required for the tapered locking mechanism.
This cleaning step may seem minor, but it significantly improves the reliability of the final assembly.
Step 3 – Position the Bushing in the Hub
After cleaning the components, insert the QD bushing into the tapered bore of the hub.
The bolt holes on the bushing flange should align with the threaded holes in the hub. At this stage, the bushing should sit loosely in the hub rather than being forced into position.
The purpose of the mounting bolts is to draw the bushing into the taper gradually. Forcing the bushing into the hub manually can cause uneven seating and may damage the components.
Step 4 – Insert and Lightly Tighten the Mounting Bolts
Install the mounting bolts through the flange holes and thread them into the hub.
Initially, tighten the bolts only by hand or with light torque. This step ensures that the bolts are correctly aligned and that the bushing begins to seat evenly within the hub.
It is important not to fully tighten one bolt at a time. Instead, each bolt should be tightened gradually in sequence so that the bushing moves evenly into the tapered bore.
Step 5 – Slide the Assembly onto the Shaft
With the bushing partially seated in the hub, slide the entire assembly onto the shaft.
Ensure the key is properly positioned in the shaft keyway before pushing the assembly into place. The bushing bore and the keyway should align smoothly without forcing the components together.
If resistance is encountered, the assembly should be removed and inspected rather than forced onto the shaft.
Step 6 – Final Bolt Tightening and Alignment Check
Once the assembly is correctly positioned on the shaft, begin the final tightening process.
The mounting bolts should be tightened gradually using a cross-pattern sequence. This approach distributes the clamping force evenly around the taper and prevents distortion of the bushing.
Continue tightening until the recommended torque value is reached. After tightening, rotate the pulley or sprocket by hand to verify that the assembly runs smoothly and remains properly aligned.
Recommended Bolt Tightening Practices
Proper bolt tightening is essential for achieving the correct clamping force. Using a torque wrench is recommended whenever possible to ensure consistent results. The following table shows approximate torque ranges commonly used for QD bushing mounting bolts.
Bolt Size | Typical Torque Range |
1/4 in | 9 - 12 ft-lb |
5/16 in | 15 - 20 ft-lb |
3/8 in | 25 - 30 ft-lb |
These values may vary depending on the specific manufacturer, so it is always best to consult the technical specifications for the exact bushing series being installed.
Common Installation Mistakes to Avoid
Even though the installation procedure is straightforward, several common mistakes can compromise the performance of a QD bushing.
1) One frequent issue is applying lubrication to the shaft or the tapered surfaces. While lubrication may seem helpful during assembly, it reduces friction and can weaken the locking effect of the taper.
2) Another common mistake is tightening one bolt completely before the others. This can cause the bushing to seat unevenly in the hub and may lead to misalignment.
3) Incorrect key installation is also a common source of problems. If the key is too loose or improperly positioned, it may cause vibration or damage the keyway over time.
Finally, using the wrong QD bushing series for the hub will prevent proper seating and may damage both components.
 Quick Inquiry Now
Need Help Choosing the Right QD Bushing?
If you are selecting QD bushings for pulleys, sprockets, or other power transmission components, choosing the correct size and type is important for reliable operation.
Our engineering team can assist with bushing selection, dimension information, and technical recommendations based on your shaft size and application requirements. Feel free to contact us if you need additional guidance or product details.
FAQs
Can a QD bushing be installed without a key?
In most applications, a key is recommended because it helps transmit torque and prevents rotation between the shaft and the bushing.
Should the shaft be lubricated before installing a QD bushing?
No. The shaft and bushing surfaces should generally remain clean and dry to ensure proper friction between the tapered surfaces.